

Sales Receipts

Step #1 - Begin the sale.
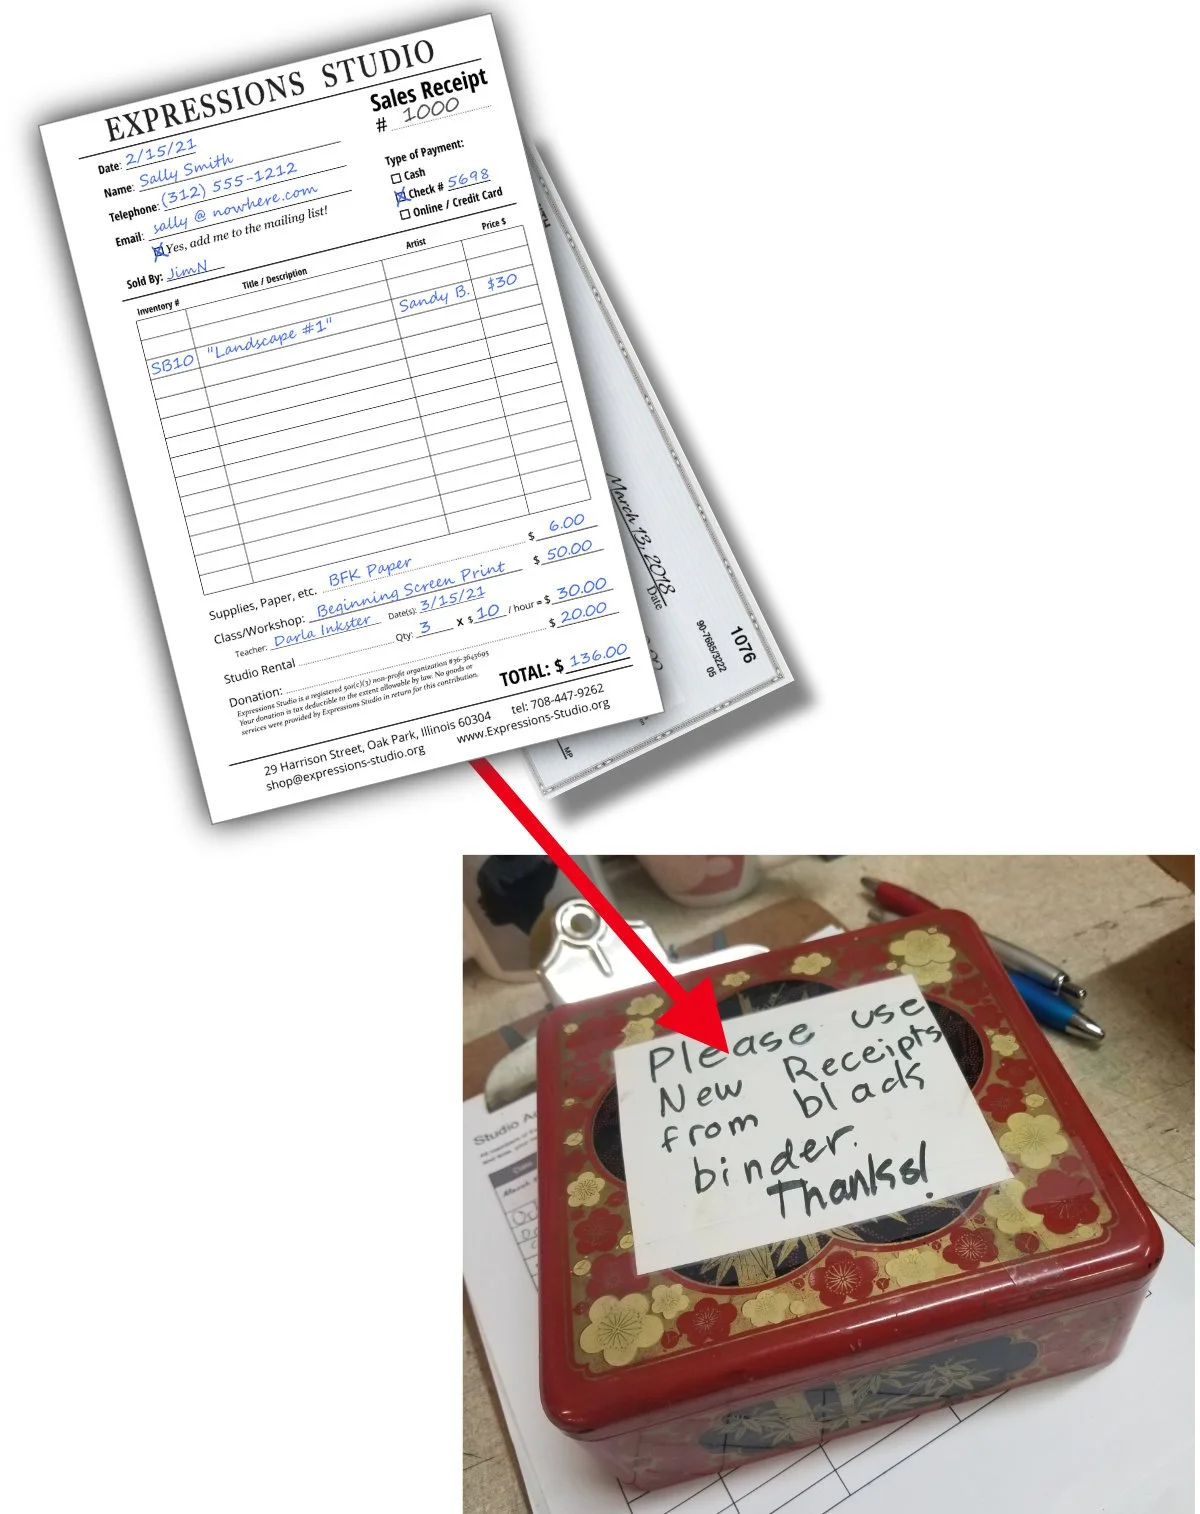
NOTE… write clearly and press firmly onto the triplicate form. We need to see the order details!
Enter the full DATE… please!
Enter the customer’s NAME, and their phone number OR their email address, if they are willing. Cash orders do not require a name or other information.
Enter your name as the Volunteer processing the transaction in the SOLD BY box. We want to know who is doing a great job!
Mark the type of payment. Please don’t make the Bookkeeper have to guess what happened!
Step #2 - Itemize the transaction
It is so so so important that we know what we sold. The more information gathered allows artists to get their commission faster and the credit for their hard work.
Co-Op Gallery Artwork - Enter the Inventory Number, Title or Description, Artist Name, the Price.
Miscellaneous Items - The bottom of the receipt has place for entering purchases of supplies, paper, studio rental time, or making a donation.
Finally, tally up the TOTAL of the sale at the bottom.
Step #3 - Take a picture of the order
Set the receipt next to all the items on a table, and take a picture with your phone.
This photo will be available to the Artist and the Board Treasurer as proof of the transaction.
(Note: If you do not have a phone with a camera, you may skip this step.)

Step #4 - Separate the Sales Order pages into its three parts.

Step #5 - Receive payment
Gather the cash or the check payment from the customer.
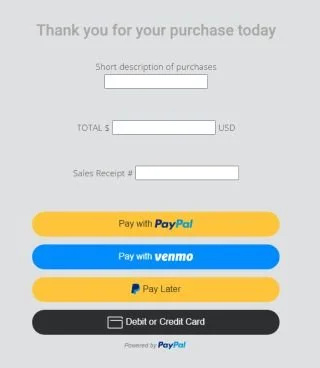
Credit card processing will be handled by instructing the customer to find the “MAKE A PAYMENT” button at the bottom of the web site. The web page will provide instructions on how to use the PayPal payment screen.
Step #6 - Give the customer the Pink copy
Don’t forget to thank the customer!

Step #7 - Attach price tags to the Yellow copy
Remove the price tags and attach them to the Yellow copy next to the description.

Step #8 - Place the Yellow copy into the Receipt Book.

Step #9 - Place White copy into red cash box.
Gather the cash or check payment, fold into the White copy, and place into the red cash box.
For Credit Card payments, the folded White copy can be placed into the cash box with nothing attached or included.
Step #10 - Last step, send an email
Send an email to shop@expressions-studio.org with the picture of the order (see step #3) attached and a short note about the transaction. This email will be sent to the gallery manager, the Treasurer, and the bookkeeper.
If you do not have a phone that can take pictures or able to send emails, please note in the Volunteer attendance log the transaction.
DONE… thank you for your efforts to handle business of our studio!